

If you’ve ever think How to create a bootable USB Rufus, you’re in the right place. Whether you’re installing Windows, Linux, or troubleshooting a computer that won’t start, Rufus is the simplest and most reliable tool for the job. This free, open-source utility helps you format and create bootable USB flash drives quickly, no complicated setup, no technical stress.
In this complete guide, we’ll walk you through how to use Rufus efficiently, what settings to choose, and why it’s an essential part of every tech toolkit.
What Is Rufus and Why Use It?
Rufus is a lightweight yet powerful utility that allows users to create bootable USB drives using ISO files. This makes it possible to install or repair operating systems directly from a USB flash drive.
You’d want to create a bootable USB Rufus in situations like:
- Installing Windows or Linux without a CD/DVD.
- Recovering your system after a crash.
- Running a live version of Linux for diagnostics or testing.
- Troubleshooting computers that can’t boot from their internal storage.
Rufus is trusted by IT professionals, developers, and home users alike because it’s fast, portable, and doesn’t require installation.

Before You Create Bootable USB Rufus
Before you start, make sure you have everything you need to create a bootable USB Rufus successfully:
-
A USB flash drive (minimum 8GB; 16GB recommended).
-
A Windows or Linux ISO file.
-
A Windows computer with administrative access.
-
The latest version of Rufus, available from the official Rufus website.
Tip: Backup any important files from your USB drive. Rufus formats the drive completely during setup.
Step 1: Download Rufus
Head over to the official Rufus download page and grab the latest version. Rufus is a portable application, which means it doesn’t need installation.
-
Save the
.exefile to your computer. -
Double-click the file to open it.
-
Approve any permission prompts from Windows.
You’ll now see the Rufus interface, ready to detect your USB drive.

Step 2: Insert and Prepare Your USB Drive
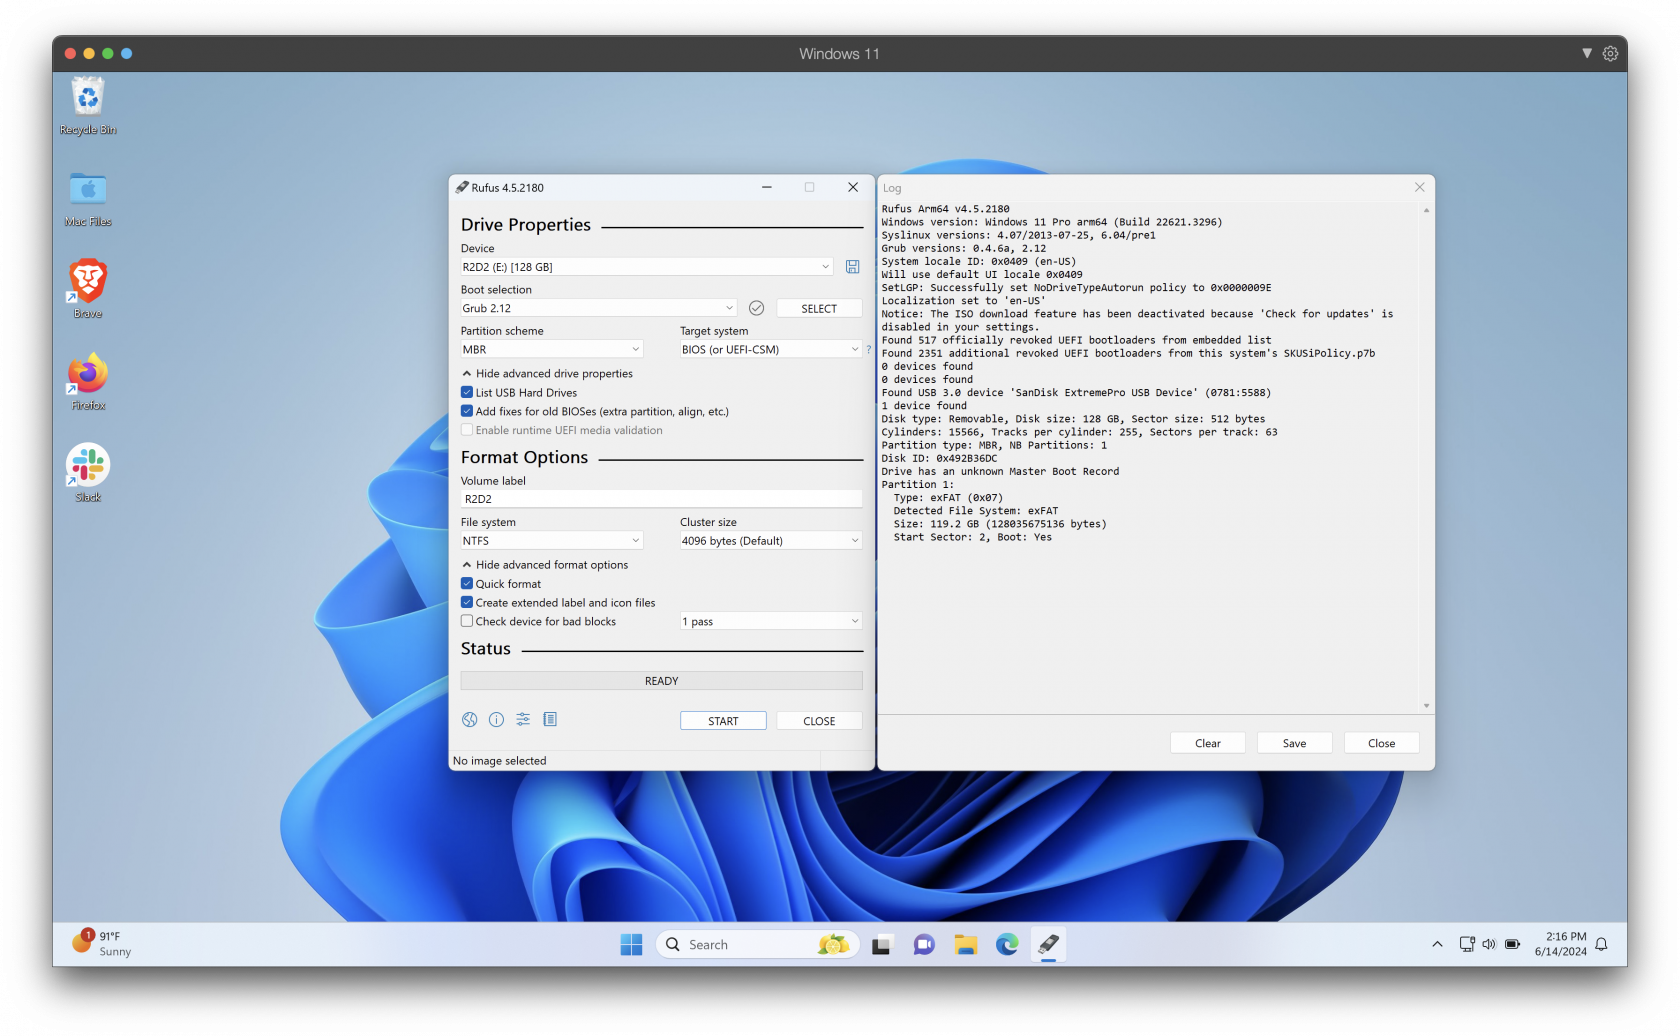
Plug your USB flash drive into an available port. Rufus automatically detects it under the “Device” section.
Make sure your USB doesn’t contain important data because it will be formatted.
If you’re using an older USB stick, you can also use Rufus’s bad block check feature to ensure the drive is healthy before writing the ISO file.
Step 3: Select Your ISO File
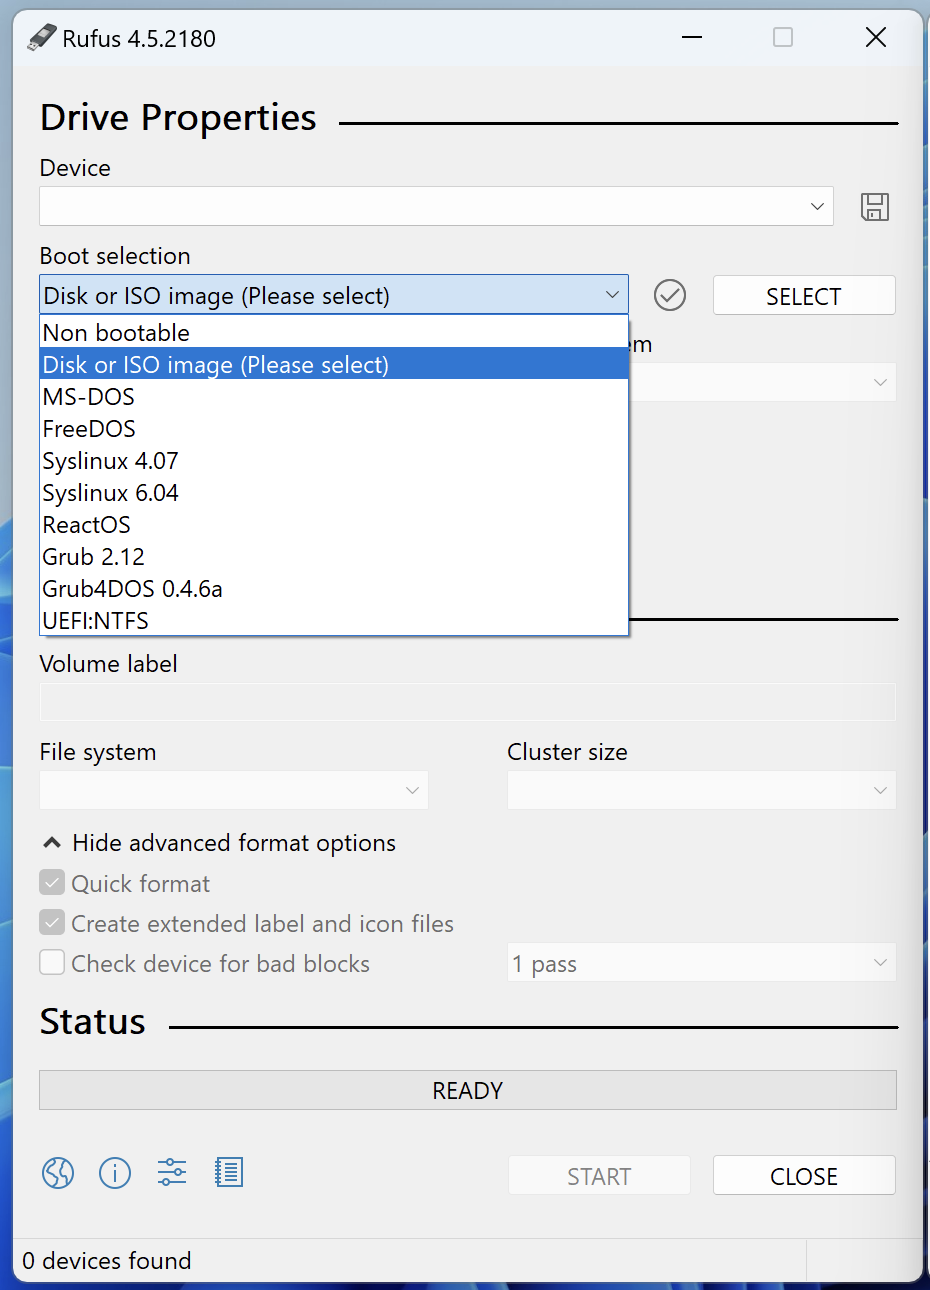
In the Rufus window, look for the “Boot selection” option. Click Select and browse to find your ISO file (for example, a Windows 10 or Ubuntu image).
Once selected, Rufus automatically adjusts the settings to match the type of ISO you’ve chosen.
Example:
- If it’s a Windows ISO, Rufus will recommend NTFS format.
- For Linux or mixed-boot systems, it may choose FAT32.
Step 4: Configure Rufus Settings
Before you create bootable USB Rufus, review the key configuration options:
-
Partition Scheme:
-
Choose MBR if your system supports BIOS or UEFI.
-
Choose GPT for UEFI-only systems.
-
-
File System:
-
NTFS for Windows installation drives.
-
FAT32 for Linux or universal boot drives.
-
Rufus intelligently adjusts these based on your ISO, but it’s always good to double-check.
Step 5: Start Creating the Bootable Drive
Once everything is ready, click Start.
You’ll receive a warning that all data on your USB will be erased, confirm to continue.
Rufus then begins writing your ISO to the drive. This process can take anywhere from 5 to 15 minutes, depending on your USB speed and ISO size.
When Rufus displays “Ready”, your bootable USB is complete.
Safely eject it using Windows File Explorer → Right Click → Eject.
Step 6: Use Your Bootable USB
Now that you’ve successfully created a bootable USB with Rufus, you can use it to:
- Install Windows or Linux.
- Recover your system after a crash.
- Boot into a live Linux environment for testing or repairs.
To boot from your new USB:
- Insert it into the target computer.
- Restart and enter your boot menu (commonly F12, Esc, or Del).
- Select your USB drive from the list.
Your chosen operating system installer or live environment will now load.
Step 7: Explore Advanced Rufus Features
Rufus isn’t just for creating bootable media, it offers advanced tools that make it indispensable.
Persistent Storage (Linux only):
If you’re creating a Linux live USB, enable “Persistent Storage.” This lets you save files and system settings even after rebooting.
Bad Block Scanning:
This feature ensures your USB drive is free from data corruption before installation.
UEFI and BIOS Compatibility:
Rufus supports both boot modes, making it a universal tool for older and newer systems alike.
For in-depth details, check the official Rufus documentation for tips, updates, and troubleshooting help.
Troubleshooting Common Issues
If your USB doesn’t boot properly after using Rufus:
-
Check BIOS Settings: Ensure USB booting is enabled in BIOS.
-
Recreate the USB: The ISO might have been corrupted, try re-downloading it.
-
Switch Partition Schemes: If GPT doesn’t work, try MBR instead.
Why Rufus Remains the Best Tool in 2025
There are many tools that promise to create bootable media, but Rufus remains unmatched for its simplicity, reliability, and speed.
Unlike bulky installers or cloud-based utilities, Rufus is small, offline, and efficient. It supports almost every operating system, from Windows 7 to the latest Linux distributions.
Whether you’re a system admin, gamer, or casual tech enthusiast, learning how to create bootable USB Rufus is an essential skill that saves time and keeps you prepared.